Search the Community
Showing results for tags 'hiearchy'.
-
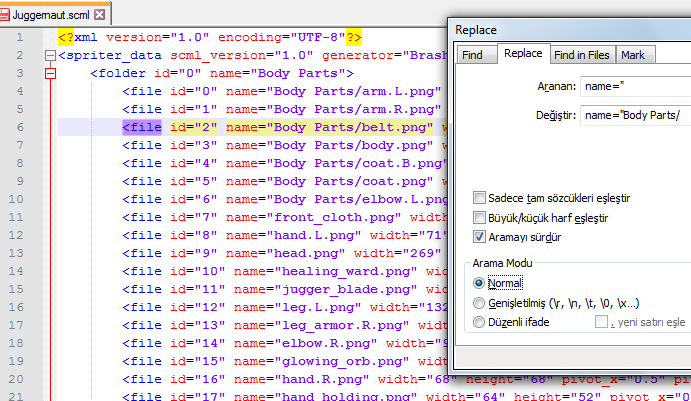
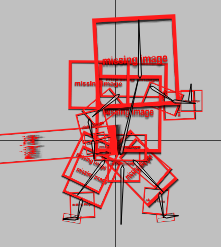
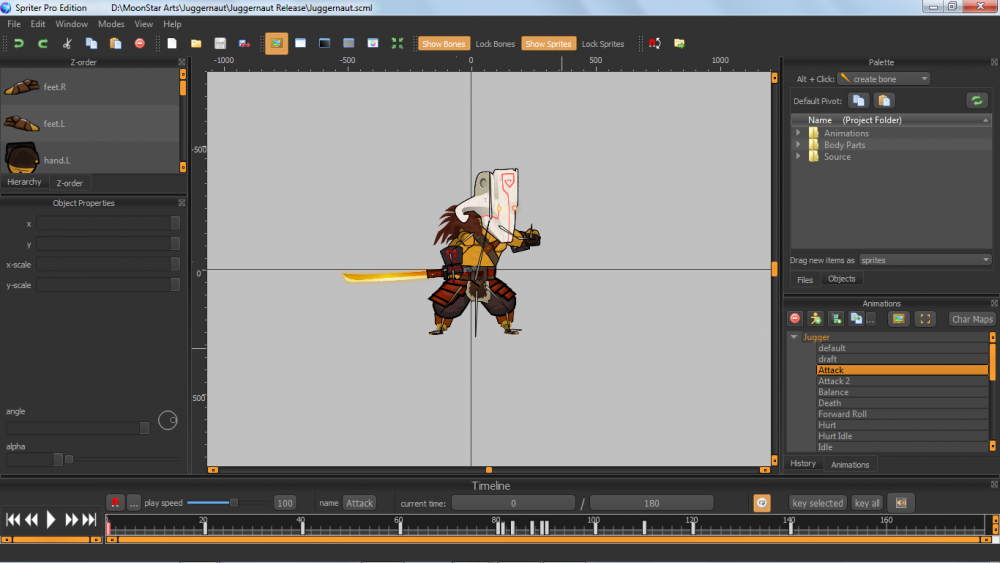
When there is something that Spriter users know than it is that once the project path is set it cannot be changed anymore or the project images get lost. Well.. Here is a small guide how it can be actually changed. What do you need? Notepad++ Actually it is not a need but it's just easier to work with. Now let's assume your Spriter File (SCML) is inside the folder where all your sprites are located. In the above example my SCML file is called "Juggernaut". Now let's put it one folder higher in the file hierarchy. What I did is to cut out the "Juggernaut " SCML from the "Body Parts" Folder and placed it to the parent folder. If you open the scml file now. After getting a pop-up dialog that notifies you about missing sprites the following thing will happen: That happens because Spriter is still searching for the images in the old folder but since the file has moved the path has to be changed as well. Here is the trick Right Click on the SCML file Choose "open with" and then your favorite editor. In my case Notepad++ Then you will see a syntax similar to xml. Simply add a name attribute to the folder tag Give it the path to the folder your sprites are located e.g name="Body Parts" Search and replace all FILE NAME ATTRIBUTES with the path to the sprites e.g name="Body Parts/Head.png" (in the image above I had to continue it with file id = 7) Save and open Spriter the normal way Enjoy No more missing Sprites ;D


