mindflayer
-
Posts
10 -
Joined
-
Last visited
Content Type
Forums
Store
Gallery
Downloads
Everything posted by mindflayer
-
Hi all, I want to study animations in games and movies by checking out footage frame-by-frame. I've tried out Filmora and WMM, both of which don't allow this (as far as I can tell). I've tried recording with OBS then playing back the footage while recording it with a gif maker, which has allows for frame-by-frame analysis. The gif maker strikes me as sketchy (why does it need to access the internet?) but the process overall seems inefficient, hence I figured I'd ask. Any advice would be super helpful. Thanks!
-
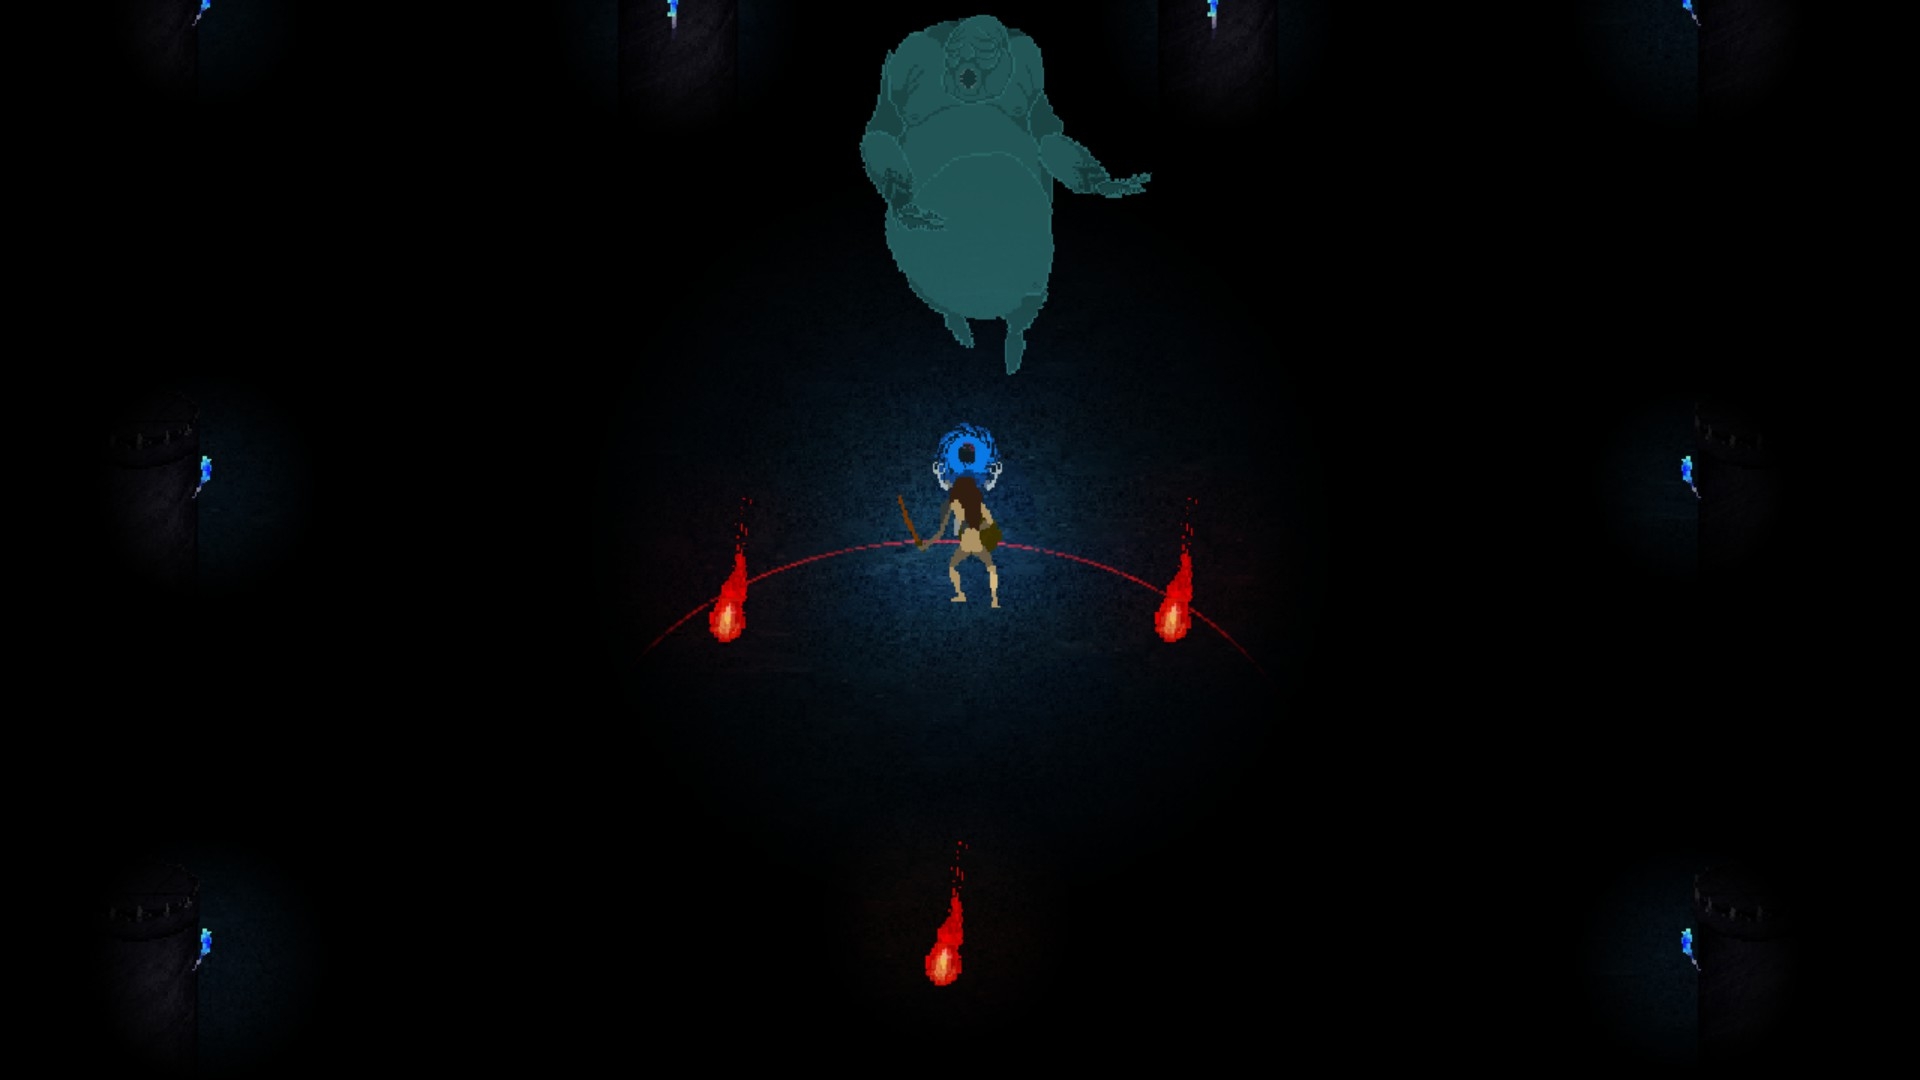
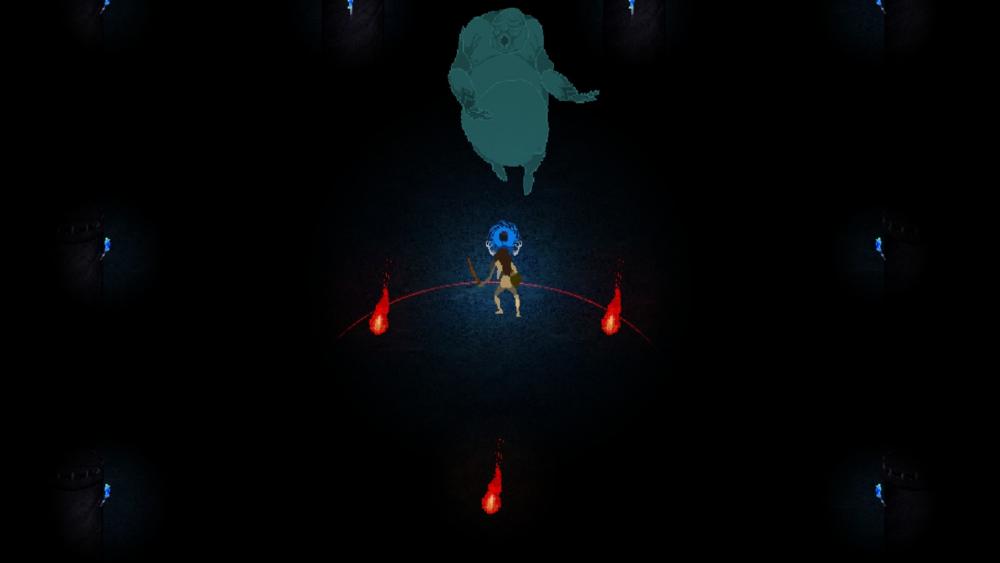
Hey all, I'm interested in hearing about your workflows. Thought it'd be helpful to have a thread where anyone can post their process, the programs they use, etc. Here's the workflow for Mausoleum of the Medusa, which was my first experience with pixel art and with animating. Four-directional characters For the rough versions, I hand-drew each frame in Photoshop (CS3), then tossed em into Unity (2D) to test animation. Then I learned about GraphicsGale. I started refining and testing the animations in there, then double-checking in Unity, then touching up sprite sheets in Photoshop. One-directional characters Since these characters only appear in a "south-facing" direction, I incorporated Spriter into my workflow. First, I drew the characters in Photoshop; animated in Spriter; tested in Unity; touched up sprite sheets in Photoshop Hopefully this is useful for others! I'm preparing for a larger project which involves eight-directional movement, so I'm especially curious to see what others do for games like that.
-
Quick question--if I hide an object at a given keyframe, how do I unhide it later? Also, is there a way to select an object initially hidden behind another object (which, in a subsequent keyframe, creeps into view)? Selecting the object in the Z order, the timeline, etc. and right clicking does not give you the option of hiding the object, so my workaround right now is to select the bone, drag the object into view, hide it, and return it to its place. Just curious.
-
Thanks. That was precisely the issue. This finally got me to appreciate the hierarchy and give the hierarchy window the attention (and respect!) it deserves. During the rogue portion of a timeline (in this case, where only one object has gone rogue), which of that object's keyframes should be deleted? For example: In the canvas: Frame 400: the shin object is correctly associated as a child of the shin bone Frame 500: the shin object has reached the furthest point of its rogue animation Frame 600: the shin object is back in place over the shin bone In the hierarchy: Frame 400: the shin object appears as a child of the shin bone Frames 401-599: the shin object is no longer a child of the shin bone, and is just sitting on its own lower down in the hierarchy Frame 600: shin object is back in place I would assume the answer is to delete the keyframe at 500, and that the rogue animations from 401-499 and 501-599 would automatically 'correct' themselves, creating a fluid transition between the 400 and 600 keyframes. The reason I ask is because after deleting keyframe 500, the shin object continued its rogue animation. Perhaps I should have saved and reopened. Unfortunately for troubleshooting / video purposes, I ended up deleting the remaining keyframes for the shin object and shin bone, but I'm still curious if an obvious answer would have solved the issue. At any rate, this time deleting the keyframes stuck. It will not be much trouble to reanimate the leg. I bulldozed through what could have been a more informative troubleshooting stage to "save time" and here I am twenty minutes later after typing all this out, haha. Whatever, I guess at the end of the day if it helps my understanding of the program, it's time well spent.
-
Thanks for the assistance! I followed your instructions and took these steps: Right clicked on a blank spot on the canvas Selected 'Unlock all objects' I then saved, restarted Spriter, reloaded the project The bone and the object are both now selectable However, the object reels away from the bone for a single keyframe. The bone moves as it should, but the object leaps away from it and, by the subsequent keyframe, returns to where it should be. I clicked on the object's wonky keyframe in the expanded timeline and hit Delete. Its keyframe disappears for a second or so, then reappears. The bone's own keyframes are already deleted. Just figured I'd throw out some details while they're fresh in my mind. I will post a vid tomorrow or as soon as possible.
-
Unbelievable. In taking a break to post all this, I either forgot whatever trick I had uncovered to fix the issue, or I never actually figured it out, haha. Mods, can you show me what I'm missing here? I still can't click on the shin bone or shin object, exactly as I outlined in the bulleted info above (thank god I didn't delete all of that). In the timeline, both the shin bone and object are keyed at my 0 and 400 keyframes (along with every other bone and object), but that's it. I deleted all keyframes for both the shin bone and the shin object at 100, 200, 300, 500, 600, and 700. Is there a way to dig myself out without deleting the remaining keyframes for the shin?
-
Suddenly couldn't select spriter's limb object / bone I was tweaking some foot / leg animations and deleted some shin object keyframes, but not the shin bones. Moving forward I hopefully won't make that mistake again, but for a minute I for the life of me couldn't figure out why my shin bone was showing up in the expanded timeline and yet I couldn't select or manipulate it in the animation window. (Then I scrolled down a bit, saw I had deleted the corresponding shin object keyframes somehow, and smacked myself on the forehead). Anyway, all that said, are there any tips / tricks / precautions seasoned Spriter users can recommend specifically with regard to meddling in the expanded timeline? The timeline's pretty straightforward but I wouldn't be surprised if someone was like "Oh man, when in doubt, keep an eye on X, Y, and don't forget to check Z." I was going to post the notes below to the board but figured out the issue myself. I felt I should still post them, as the keywords might help someone with a similar issue as they perform searches. I've created a humanoid composed of about 20 bones and their corresponding objects. For the purposes of troubleshooting, I'll mention I followed the Youtube tutorial more or less to the letter with regard to the animation process (my only deviation was the number of bones and objects created; for example, my sprite has a neck whereas the Greyman does not). I completed a walking animation. I went in to tweak the animation a bit, and must've hit something. For some reason I can no longer select the left shin bone or shin object. Every other bone and object seems to function normally. If I pass my cursor over the left shin with Show Bones deactivated, the bone appears for a nanosecond just AFTER my cursor has stopped 'touching' it. I cannot select the bone itself in the animation window, even with Show Bones activated. However, if I hover my cursor over the sharp tip of the bone, the little semicircular rotation icon appears as normal (not for a nanosecond; it stays so long as my cursor hovers over it, like any other bone). However, clicking has no effect. In the expanded timeline, I can hover over the shin bone's file name on the lefthand side, which highlights the bone itself in the animation window. My timeline is 0-800, with keyframes at 0, 100, 200, 300, 400, 500, 600, 700. The shin bone only has keyframes on 0 and 400, so [aaand here is where I realized I hadn't checked the shin object. I scrolled down, and lo and behold, it still had keyframes scattered around]. I assume that because I had deleted the shin bone keyframes, and because the shin object is tied to the shin bone (mods, is the correct terminology that the object is a child object of the bone, or does 'child' only apply to other bones?), neither the shin bone nor the shin object could be manipulated until I made some corrections. In my case, I deleted the shin object keyframes, but presumably you could add shin bone keyframes to complement the shin object. The latter sounded like more trouble than it was worth.
-
I know there's an official troubleshooting post, but I figure I'll list out my own issues, troubleshooting steps, and solutions for the benefit of anyone else who is brand new to Spriter. In the first post I'll bullet out quick tips, etc. and I'll note details in subsequent posts if/when necessary. My thought is that what with all the keywords spewed out in these posts, this will make searching for certain solutions a little easier when googling or searching the board. I'm sure some or all of this is addressed in the Youtube vids, the manual (I've read through it once already and should probably give it a second read), and the board, but heck, if anything I will enjoy reviewing my own progress as time progresses. Tips If you suddenly can't select an object or bone, check ALL associated bones / objects
-
Why 782 frames in "Walking Animation" youtube vid?
mindflayer replied to mindflayer's topic in Help and Tutorials
Fantastic, thank you for confirming. I'm sure you guys have plenty to do, but I might recommend annotating the Youtube tutorials in situations such as this, as it might eliminate some confusion / forum posts (and, ultimately, it would hopefully save you some time). I've had a chance to fool around with Spriter's Pro Edition some more and I absolutely love it. Got my first walk animation down, all shambling and lurching and disgusting--in a good way! -
Hi, I have tinkered with animating low-res pixel art frame-by-frame in Photoshop; just purchased Spriter and I'm absolutely in love with it. My understanding of animation as a whole, and in particular modular animation, is somewhat limited, so I have what I suspect might be a stupid question. At 23:51 of the "How to Create a Walking Animation in Spriter" tutorial on Youtube, Mike changes his timeline length to 782 as it "will give me an evenly divided timeline of sixteen segments" for his eight-key-frame animation. 782 is not evenly divisible by 16, though; perhaps he meant 768? I wrote out all of the steps Mike mentions during the video but this particular step doesn't quite make sense to me. Similarly, if I want to do an eight-key-frame animation, why wouldn't I want to simply set the timeline length to 800 and put a key frame at the 100, 200, 300, 400, 500, 600, 700, and 800 mark? I suspect the answer is either "preference" or there is some very basic mathematical principle that I am completely blanking on, haha. Thank you for your time and for your help! Here is the vid in question: https://youtu.be/t__eWKEMadE?list=PLD72FFB8B546B6CDB&t=1431