IMPORTANT: If you’ll be using your actual Spriter data files (scml or scon) in your game engine, be
sure whatever Spriter implementation you’ll be using supports this or any other of Spriter’s more
advanced features before using them.
TexturePacker Support
Spriter Pro User’s Manual version 1.4


TexturePacker by CodeAndWeb is pretty much the industry standard
tool for creating optimized sprite sheets (aka “texture atlases”). You
can go to (https://www.codeandweb.com/texturepacker) to learn more
about its feature set and the benefits it offers.
Many Spriter users requested TexturePacker support for Spriter, so we
added two different ways you can benefit from (and use)
TexturePacker created sprite sheets in Spriter Pro. Many thanks to
TexturePacker Developer Andreas Lowe for working with us to add
Spriter specific support to Texture Packer.
There are two very different ways you can use Spriter with TexturePacker. Both require TexturePacker
to be installed and require the full version of Texture packer to allow the most flexibility and so that
none of the images in the sprite sheet will be watermarked. You can get the free version from
https://www.codeandweb.com/texturepacker/download Here are the two options:
1) Using TexturePacker to merge all of the image files that your Spriter project is using into sprite
sheets once the project is finished.
In this instance, you simply use the standard Spriter work flow of creating individual image files for each
sprite image (body parts etc.), organized in sub folders in your project folder, then, once finished, you
choose an option to have TexturePacker automatically merge all the used images into optimized sprite
sheets for you.
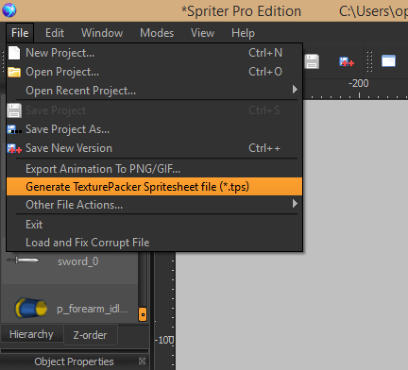
To do this, all you have to do
(assuming you have TexturePacker
installed and are otherwise finished
with your Spriter project) is choose
File/Generate TexturePacker
Spritesheet file (*.tps)
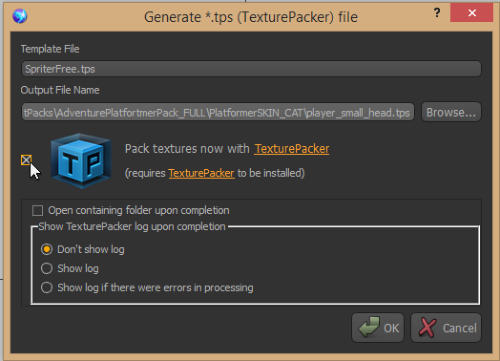
Then check the “Pack textures now with TexturePacker” check-box and adjust any of the sub-settings as
desired. Spriter will then have TexturePacker generate the spritesheet images and data files and add them
to your Spriter project folder.
2) Using a previously created TexturePacker sprite sheet as though its a sub-folder of separate
image files.
In this instance, Spriter can actually load in sprite sheets which had been previously created by
TexturePacker and let you use them as though they are typical sub folders with separate images in them!
To use this option, the first thing you’ll need to do is create a sprite sheet using the full version of
TexturePacker. To do so, follow the following steps:
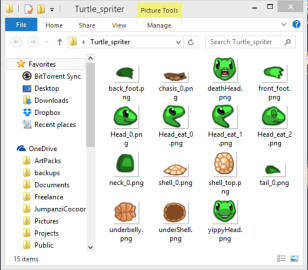
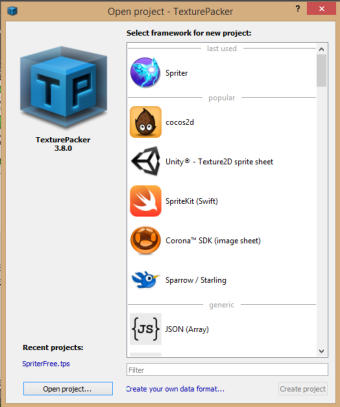
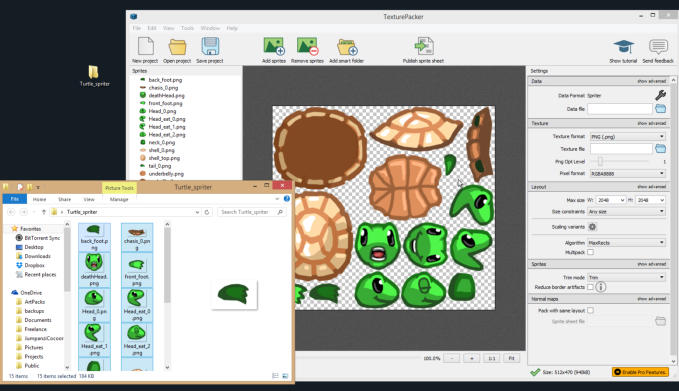
a) Have your individual image files ready and
organized in folders so you’ll easily be able to
tell TexturePacker which images should be
merged into sprite sheets. Then load up Texture
Packer and choose “Spriter” as the data format
type.
b) Now select all your image files and drag them onto the canvas in TexturePacker as prompted. This will
organize the spritesheet for you. Advanced users can then play with TexturePacker’s additional settings as
desired or needed.
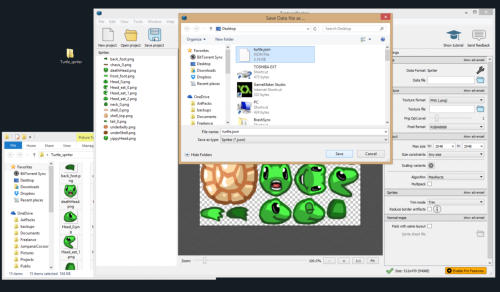
c) Now set the desired name and location of the data file which will be created by left clicking on the
folder icon to the right of the text field labelled “Data file” and then use the dialogue that will appear to
select the location and type the desired name. once you’ve done this it will automatically set the name of
the image file that TexturePacker will create to match.
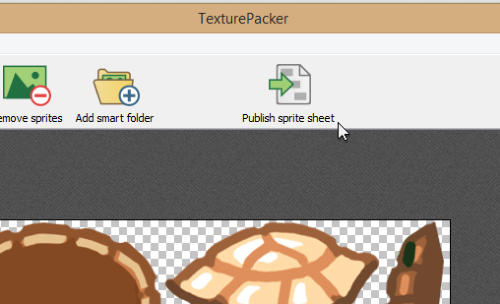
d) Then simply click the “Publish sprite sheet” Icon located near the top-center of TexturePacker’s
interface and TexturePacker will create your sprite sheet for you.
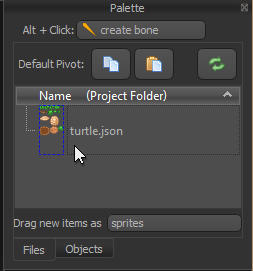
e) Once you’ve repeated steps a through d as much as needed to create all the sprite sheets you’ll be
needing, start up Spriter and choose file/new project and then select the folder which has all of your
newly created sprite sheets (images AND data files). Once you’ve done this you should see a thumbnail
of each of the sprite sheets, outlined in purple.
f) Now try double-clicking on any of the sprite sheet
thumbnails and you should see it open up as though its a
sub folder of separate images! Now you can use Spriter just
as you are used to doing with separate images, treating each
sprite sheet as though its a sub-folder of separate images.
AGAIN: Be very careful if you plan on using your Spriter files with any particular authoring system.
Make sure that the Spriter implementation you’ll be using can support these TexturePacker related
features before using them.


TM
